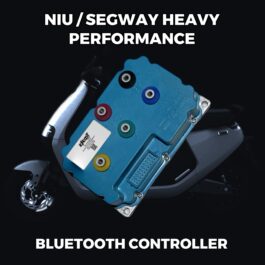
Segway / NIU / NIU NGT Scooter Bluetooth Motherboard (190-1500A)
- €349.95 – €2,800.00
- Select options This product has multiple variants. The options may be chosen on the product page
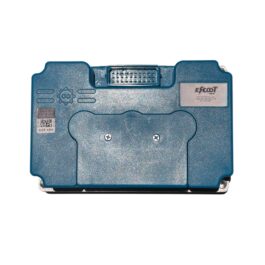
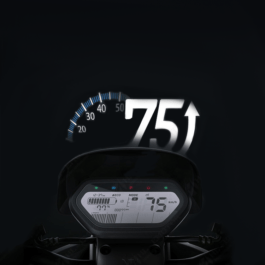
NIU NQI / N1S / N1 Motherboard 75+KMH (3 Modes & Bluetooth Programmable)
- €349.95
- Select options This product has multiple variants. The options may be chosen on the product page
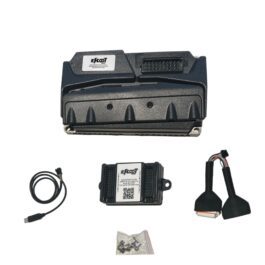
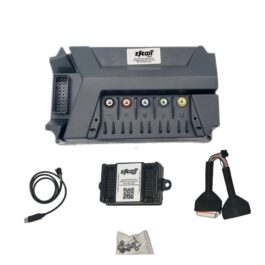
NIU NQI / N1S Motherboard 75+KM/H (3 modes & USB programmable)
- €349.95
- Select options This product has multiple variants. The options may be chosen on the product page
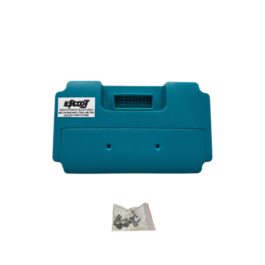
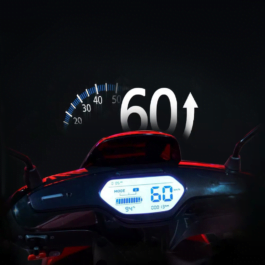
NIU UQI GT 65KM/H / U1 Motherboard 55+KM/H (3 Modes & USB Programmable)
- €349.95
- Select options This product has multiple variants. The options may be chosen on the product page